春节番外篇!
作业 0
更新于 2026 年 1 月。
在 M1 Mac 上安装些许困难,最终参考了稀土掘金的教程解决了,抛弃了虚拟机的方案,直接在本机部署环境一劳永逸,还算快的。
https://juejin.cn/post/7144284278023684133#heading-10。
按照该步骤:
- 安装
homebrew、gcc、cmake即可。这里我之前都装过了。 - 用
homebrew安装Eigen。 - 编译过程注意
eigen库安装的位置可能是和作者不一样的,比如我就是:/opt/homebrew/Cellar/eigen/5.0.1。 CMakeLists.txt也报了错,原因是CMake的版本太老了,问了 Gemini 这样改成功跑通了:
cmake_minimum_required (VERSION 2.8.11...3.27)
project (homework0)find_package(Eigen3 REQUIRED)
include_directories("/opt/homebrew/Cellar/eigen/5.0.1/include")add_executable (main main.cpp)
2.8.11...3.27表示兼容前面的版本,这里的include_directories("/opt/homebrew/Cellar/eigen/5.0.1/include")改成自己的位置,可以自己找一下。
最后按照作业中的要求正常编译就好了:
mkdir build
cd build
cmake ..
make
./main # 运行程序# 下面是输出的结果(表明程序跑通了🎉(*^▽^*))
Example of cpp
1
0.5
1.41421
3.14159
0.5
Example of vector
Example of output
1
2
3
Example of add
2
2
3
Example of scalar multiply
3
6
9
2
4
6
Example of matrix
Example of output
1 2 3
4 5 6
7 8 9
作业代码实现
#include<cmath>
#include<eigen3/Eigen/Core>
#include<eigen3/Eigen/Dense>
#include<iostream>int main(){// Basic Example of cppstd::cout << "Example of cpp \n";float a = 1.0, b = 2.0;std::cout << a << std::endl;std::cout << a/b << std::endl;std::cout << std::sqrt(b) << std::endl;std::cout << std::acos(-1) << std::endl;std::cout << std::sin(30.0/180.0*acos(-1)) << std::endl;// 30/180 * pib = 1/6 pi// Example of vectorstd::cout << "Example of vector \n";// vector definitionEigen::Vector3f v(1.0f,2.0f,3.0f);Eigen::Vector3f w(1.0f,0.0f,0.0f);// vector outputstd::cout << "Example of output \n";std::cout << v << std::endl;// vector addstd::cout << "Example of add \n";std::cout << v + w << std::endl;// vector scalar multiplystd::cout << "Example of scalar multiply \n";std::cout << v * 3.0f << std::endl;std::cout << 2.0f * v << std::endl;// Example of matrixstd::cout << "Example of matrix \n";// matrix definitionEigen::Matrix3f i,j;i << 1.0, 2.0, 3.0, 4.0, 5.0, 6.0, 7.0, 8.0, 9.0;j << 2.0, 3.0, 1.0, 4.0, 6.0, 5.0, 9.0, 7.0, 8.0;// matrix outputstd::cout << "Example of output \n";std::cout << i << std::endl;// matrix add i + jstd::cout << "Example of matrix add \n";std::cout << i + j << std::endl;// matrix scalar multiply i * 2.0std::cout << "Example of matrix scalar multiply i * 2.0" << std::endl;std::cout << i * 2.0f << std::endl;// matrix multiply i * jstd::cout << "Example of matrix multiply multiply  i * j" << std::endl;std::cout << i * j << std::endl;// matrix multiply vector i * vstd::cout << "Example of matrix multiply vector i * v" << std::endl;std::cout << i * v << std::endl;std::cout << "Homework start output" << std::endl;Eigen::Vector3f P(2.0f, 1.0f, 1.0f);Eigen::Matrix3f R, T;float theta = 1.0/4.0 * acos(-1);// std::cout << "theta: " << theta << std::endl;R << cos(theta), -sin(theta), 0.0, cos(theta), sin(theta), 0.0, 0.0, 0.0, 1.0;T << 0.0, 0.0, 1.0, 0.0, 0.0, 2.0, 0.0, 0.0, 1.0;std::cout << "旋转变换后 R*P:\n" << R * P << std::endl; std::cout << "平移变换后 T*R*P:\n" << T * R * P << std::endl;return 0;
}
作业最后算出的结果是:
手算一下就可以很简单地验证。
作业 1
做这个作业也是一上来就遇到报错了,发现是因为没有安装 opencv@2 的原因,但发现 opencv2 已经停止维护了😅,不过根据我上一次的经验,我还是跑通了!
安装好 opencv 后需要修改 main.cpp 中的引入代码,因为现在已经是 opencv4 了:
#include <opencv4/opencv2/opencv.hpp>
这里建议亲自根据
brew info opencv去调查一下文件目录再写入,只需要保证是从/include这个位置开始就对了,比如我这里实际目录的结构是/opt/homebrew/Cellar/eigen/5.0.1/include/opencv4/opencv2/opencv.hpp。
首先更改 CMakeLists.txt:
cmake_minimum_required (VERSION 2.8.11...3.27)
project (homework0)find_package(OpenCV REQUIRED)message(STATUS "Eigen3 include dirs: ${EIGEN3_INCLUDE_DIRS}")
message(STATUS "OpenCV include dirs: ${OpenCV_INCLUDE_DIRS}")
set(CMAKE_CXX_STANDARD 17)include_directories("/opt/homebrew/Cellar/eigen/5.0.1/include")
include_directories("/opt/homebrew/Cellar/opencv/4.13.0_3/include")add_executable(Rasterizer main.cpp rasterizer.hpp rasterizer.cpp Triangle.hpp Triangle.cpp)
target_include_directories(Rasterizer PRIVATE ${EIGEN3_INCLUDE_DIRS} ${OpenCV_INCLUDE_DIRS}
)
target_link_libraries(Rasterizer ${OpenCV_LIBRARIES})
然后在 代码框架 目录进行编译即可:
mkdir build && cd build && cmake .. && make
在 /build 下运行:
./Rasterizer
紧接着会在终端中输出,并打开一个窗口!
终于可以开始写作业了,太棒了!🚀
代码实现过程
作业要求:
get_model_matrix(float rotation_angle):
逐个元素地构建模型变换矩 阵并返回该矩阵。在此函数中,你只需要实现三维中绕 z 轴旋转的变换矩阵, 而不用处理平移与缩放。
模型变换
绕 \(Z\) 轴的旋转矩阵为:
自然会想到,直接将该变换作用于给出的参数 model。
Eigen::Matrix4f get_model_matrix(float rotation_angle)
{Eigen::Matrix4f model = Eigen::Matrix4f::Identity();Eigen::Matrix4f rotate_matrix;rotate_matrix << cos(rotation_angle), -sin(rotation_angle), 0.0, 0.0,sin(rotation_angle), cos(rotation_angle), 0.0, 0.0,0.0, 0.0, 1.0, 0.0,0.0, 0.0, 0.0, 1.0;model = rotate_matrix * model;// TODO: Implement this function// Create the model matrix for rotating the triangle around the Z axis.// Then return it.return model;
}
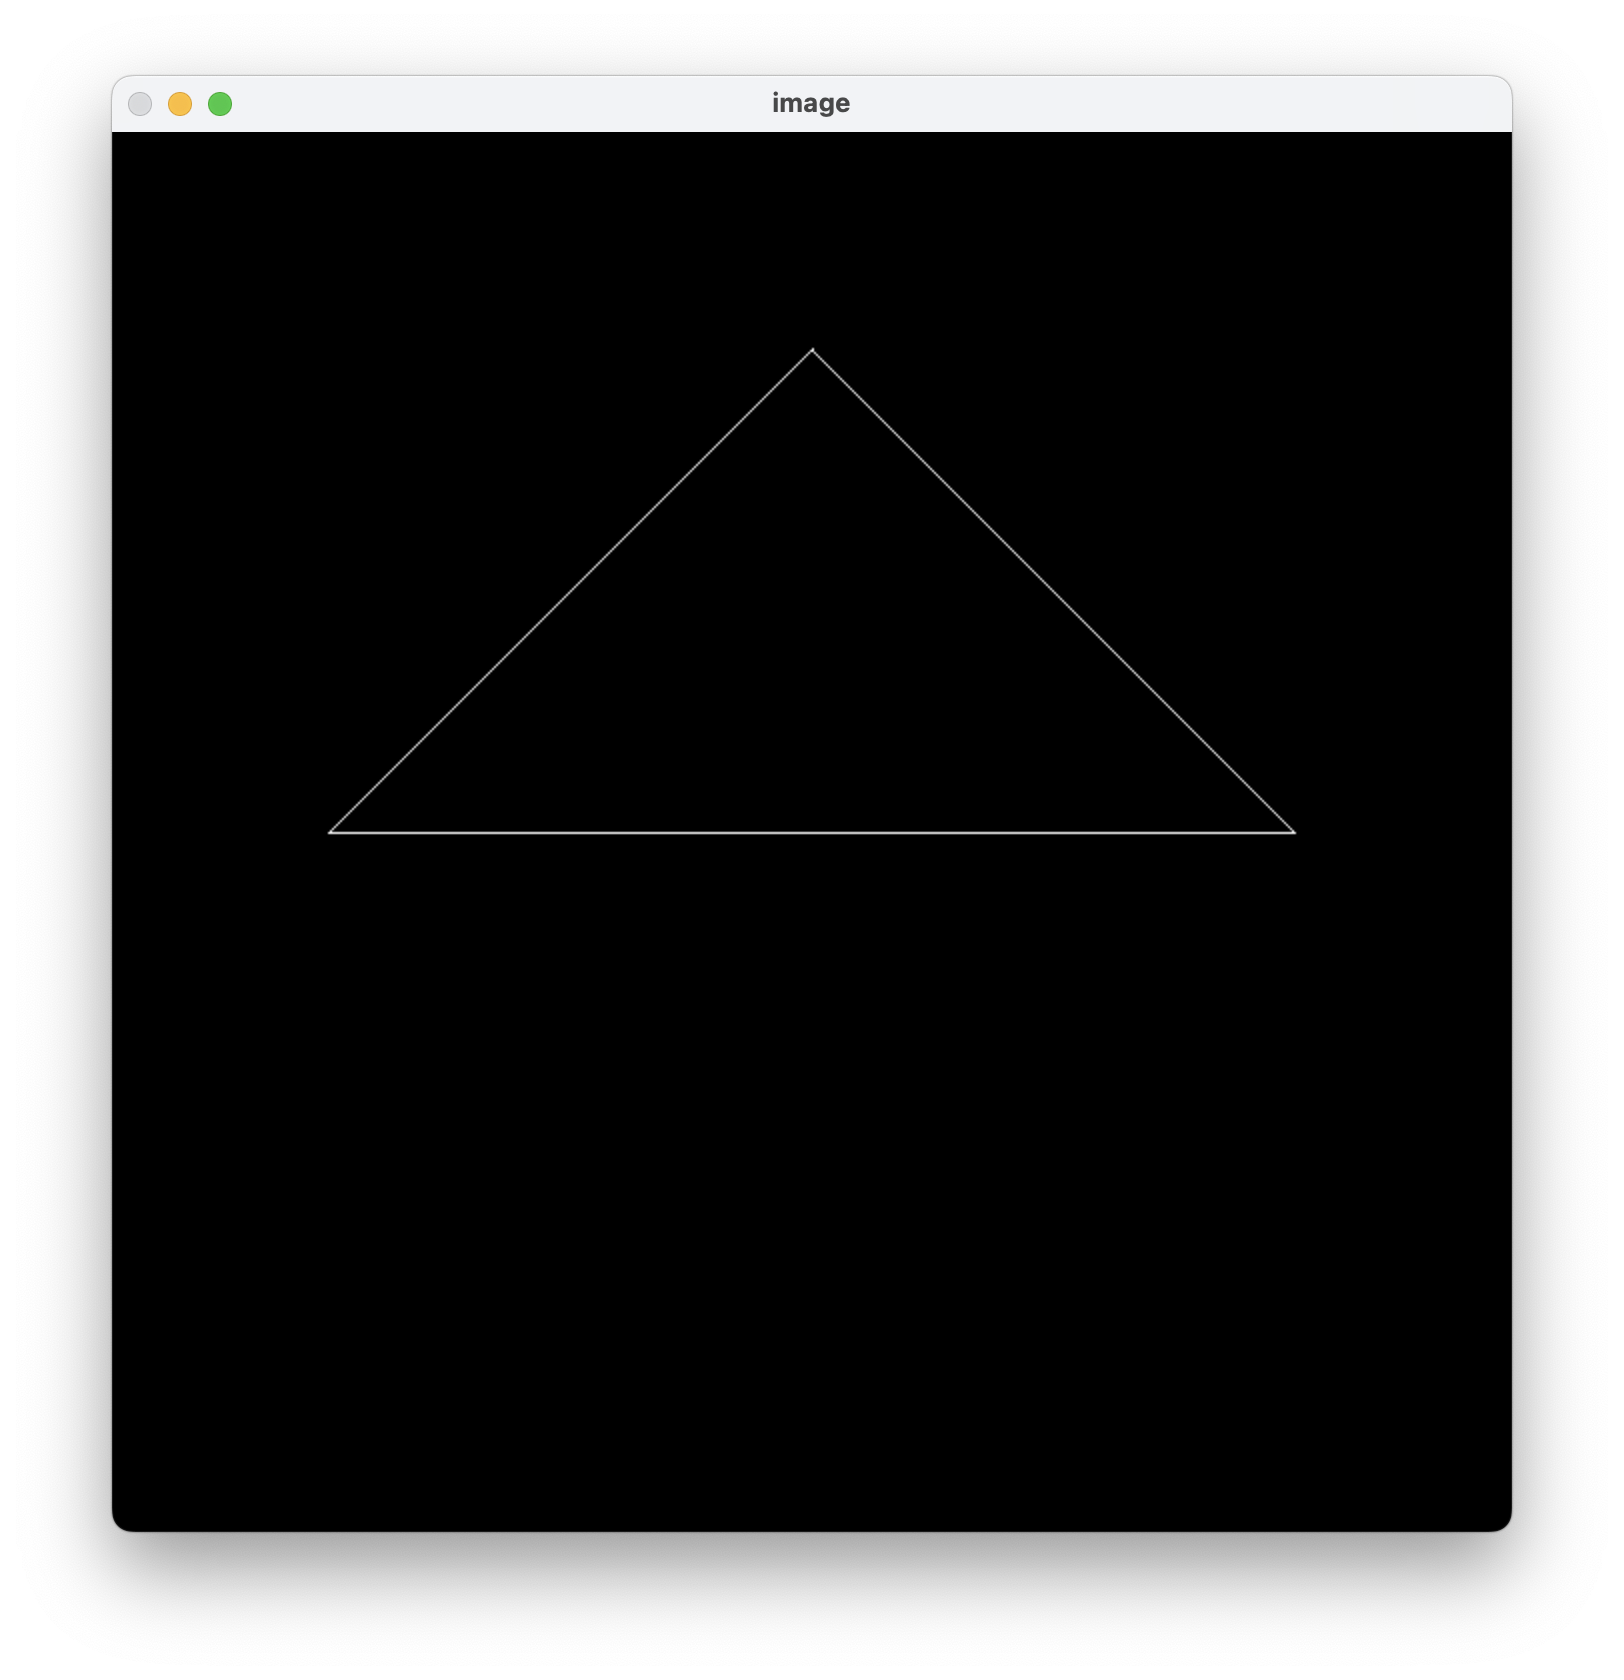
惊奇的发现按下 AD 键后屏幕中原本平直的白线可以发生旋转了,虽然不知道发生了什么但是大为震撼!
果然还是太菜了,画条线就给我激动坏了 hhh,果然 CG 给我带来的多巴胺还是要比调用 API 来获得图像要多的多。
./Rasterizer -r 20 image.png:旋转后的输出:

投影变换
这里先要猜测已经做好了
viewing变换,我已经得到一个fructum,然后按照课堂所学返回一个透视投影的变换矩阵就好了。
公式推导
根据课堂内容,\(M_{persp}=M_{ortho}\cdot M_{persp\to ortho}\) 。
函数 get_projection_matrix 给出的参数是(四个浮点参数):
eye_fov:视角。aspect_ratio:宽高比。zNear:\(n\)zFar:\(f\)
这里的 eye_fov 需要看完第五讲的内容才能理解,如果已知 \(n\) 就能利用 \(eye\_fov\) 推导出高度,接着根据宽高比 aspect_ratio 得到宽度,从而就获得了所有的矩阵参数。
这里用到的关系:
我们要做的就是把 \(M_{persp}\) 计算出来并返回就好了,将上面三个矩阵乘起来得到:
由于 \(r=-l\),\(t=-b\),即 \(r-l=2r\),\(t-b=2t\),\(r+l= 0\),\(t+b = 0\)。
得到:
中间可能会发现求出一个倒立的三角形,可以见大佬的理解:https://zhuanlan.zhihu.com/p/509902950
代码实现
分部版本
这是最终代码:
Eigen::Matrix4f get_projection_matrix(float eye_fov, float aspect_ratio,float zNear, float zFar)
{// Students will implement this functionEigen::Matrix4f projection = Eigen::Matrix4f::Identity();Eigen::Matrix4f M_persp2ortho = Eigen::Matrix4f::Identity();Eigen::Matrix4f M_ortho = Eigen::Matrix4f::Identity();Eigen::Matrix4f M_ortho_Translate = Eigen::Matrix4f::Identity();Eigen::Matrix4f M_ortho_Scale = Eigen::Matrix4f::Identity();Eigen::Matrix4f M_yFlip = Eigen::Matrix4f::Identity();float n = -zNear, f = -zFar;float fov = eye_fov * acos(-1) / 180.0;// 将角度转化为弧度float h = 2.0 * -n * tan(fov / 2.0);float w = h * aspect_ratio;float t = h / 2.0;float b = - h / 2.0;float l = - w / 2.0;float r = w / 2.0;M_persp2ortho <<n, 0.0, 0.0, 0.0,0.0, n, 0.0, 0.0,0.0, 0.0, n+f, -n*f,0.0, 0.0, 1.0, 0.0;M_ortho_Translate <<1.0, 0.0, 0.0, -(r+l)/2.0,0.0, 1.0, 0.0, -(t+b)/2.0,0.0, 0.0, 0.0, -(n+f)/2.0,0.0, 0.0, 0.0, 1.0;M_ortho_Scale << 2/(r-l), 0.0, 0.0, 0.0,0.0, 2/(t-b), 0.0, 0.0,0.0, 0.0, 2/(n-f), 0.0,0.0, 0.0, 0.0, 1.0;projection = M_yFlip * M_ortho_Scale * M_ortho_Translate * M_persp2ortho;// 构建透视投影矩阵并返回// TODO: Implement this function// Create the projection matrix for the given parameters.// Then return it.return projection;
}
测试过程中使用的命令 项目根目录:
rm -r build && mkdir build && cd build && cmake .. && make && ./Rasterizer && cd ..
因为不确定
build是会被覆盖,就每次都删除重新构建了,不过好像不需要如此多此一举?
合并版本
上面的代码是直接施加三个变换的矩阵,我们也可以直接使用推导后得到的矩阵来简化代码。
得到的代码更加简单,但本质只是手动合并了:
Eigen::Matrix4f get_projection_matrix(float eye_fov, float aspect_ratio,float zNear, float zFar)
{// Students will implement this functionEigen::Matrix4f projection = Eigen::Matrix4f::Identity();float n = -zNear, f = -zFar;float fov = eye_fov * acos(-1) / 180.0;// 将角度转化为弧度float h = 2.0 * -n * tan(fov / 2.0);float w = h * aspect_ratio;float t = h / 2.0;float b = - h / 2.0;float l = - w / 2.0;float r = w / 2.0;projection << n/r, 0.0, 0.0, 0.0,0.0, n/t, 0.0, 0.0,0.0, 0.0, (n+f)/(n-f), 2*n*f/(f-n),0.0, 0.0, 1.0, 0.0;// TODO: Implement this function// Create the projection matrix for the given parameters.// Then return it.return projection;
}
至此,我们的代码算是完成了。这里,对于绘制出三角形倒立的问题,我采用的解决办法是将 \(n\) 和 \(f\) 取负。