文章目录
- 前言
- 第一部分:百度语音识别集成
- 1.1 准备工作
- 1.2 原生语音识别配置
- 1.3 语音识别代码实现
- 1.4 使用第三方插件
- 第二部分:百度图片识别集成
- 2.1 开通图片识别服务
- 2.2 图片识别通用实现方案
- 2.3 获取Access Token
- 2.4 特定图片识别功能
- 第三部分:注意事项与优化建议
- 3.1 权限配置
- 3.2 平台兼容性处理
- 3.3 性能优化建议
- 第四部分:完整项目结构建议
- 结语
前言
随着人工智能技术的普及,语音和图像识别已经成为现代应用的常见功能。uniapp作为跨端开发框架,配合百度AI开放平台的能力,可以快速实现这些智能功能。本文将分别介绍语音识别和图片识别的完整集成方案。
第一部分:百度语音识别集成
1.1 准备工作
️首先需要在百度智能云平台创建应用并开通语音识别服务:
- 访问百度AI开放平台
- 注册账号并完成实名认证
- 进入控制台,创建新应用
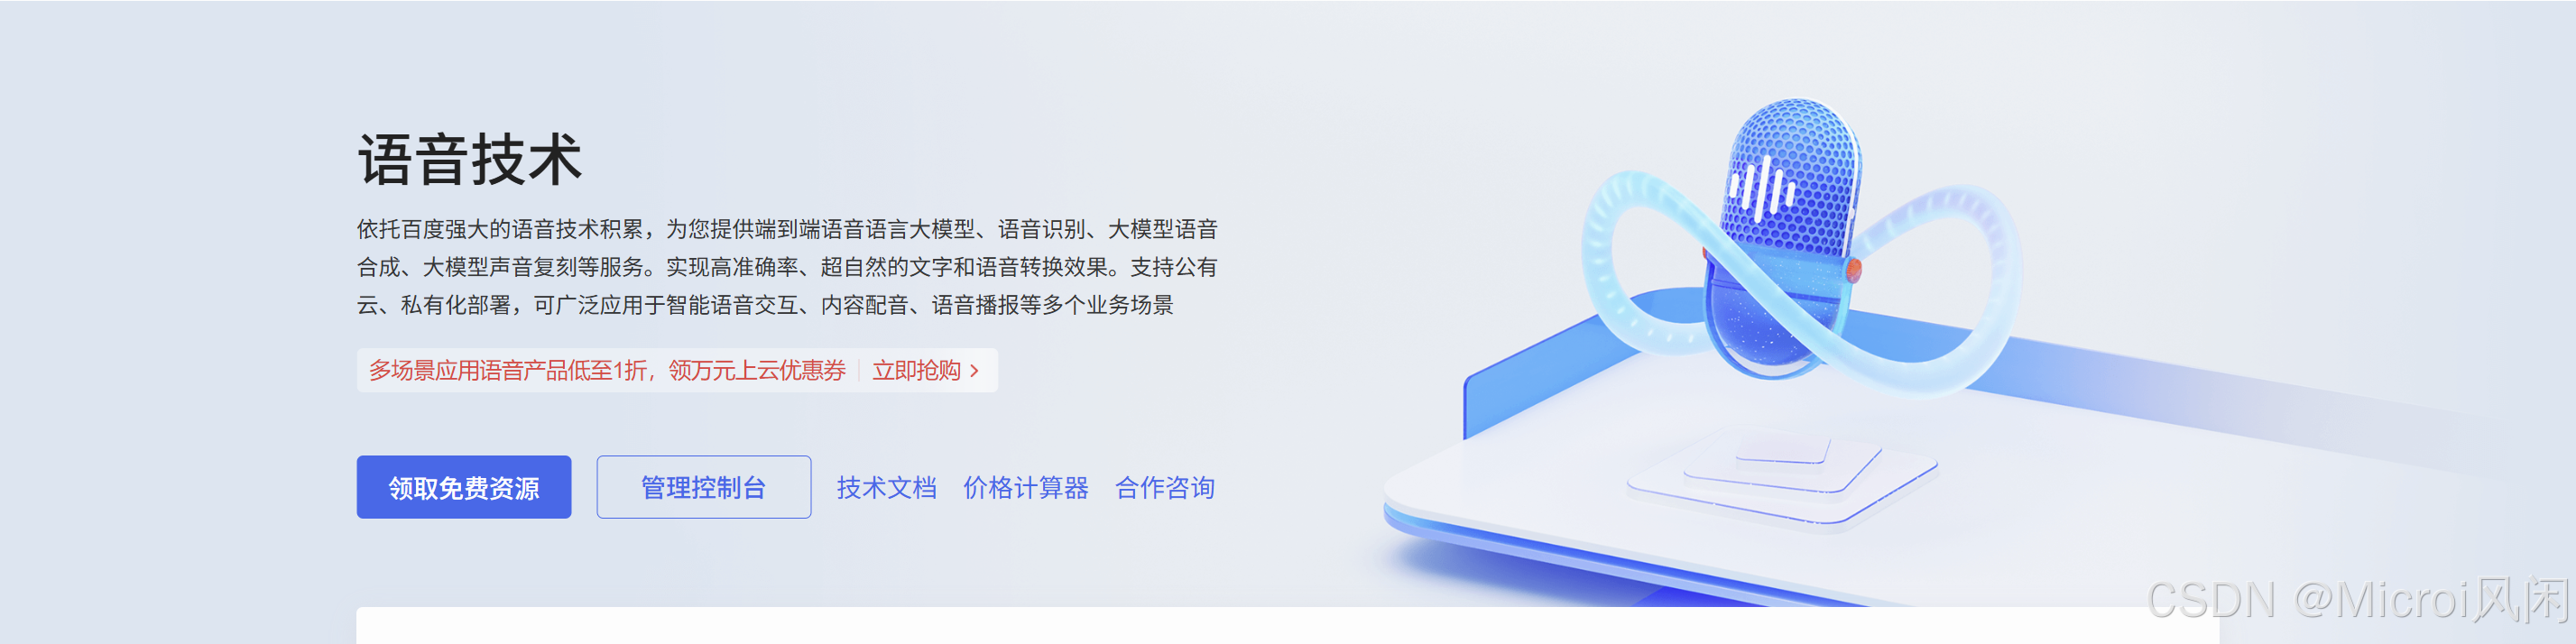
- 在应用中开通"语音技术"相关服务
- 获取
AppID、API Key和Secret Key
1.2 原生语音识别配置
HBuilderX已内置了百度语音识别的支持,配置非常简单:
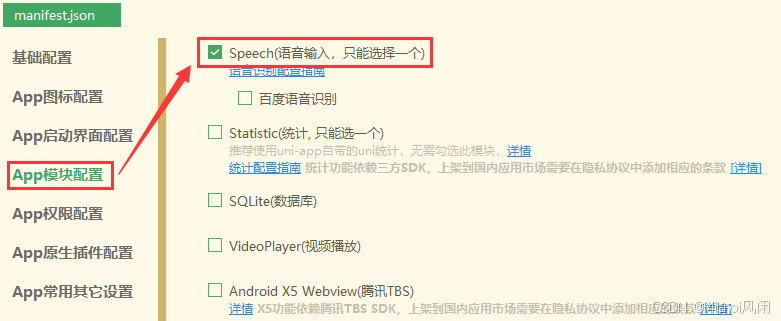
在 manifest.json 文件中进行如下配置:
{
"app-plus": {
"modules": {
"Speech": {
"baidu": {
"appid": "你的百度AppID",
"apikey": "你的API Key",
"secretkey": "你的Secret Key"
}
}
}
}
}
注意:讯飞语音识别和百度语音识别只能二选一,不能同时配置。
1.3 语音识别代码实现
使用语音功能基本流程:
向三方语音识别平台申请开通,申请成功后会获取 AppId、API Key、Secret Key等参数
在HBuilderX中配置申请的参数(如AppId等),提交云端打包生成自定义基座
在App项目中调用API进行语音识别操作
✅使用默认语音识别界面
var options = {
engine: 'baidu'
};
text.value = '';
console.log('开始语音识别:');
plus.speech.startRecognize(options, function(s){
console.log(s);
text.value += s;
}, function(e){
console.log('语音识别失败:'+JSON.stringify(e));
} );✅自定义语音识别界面
<template><view class="content"><textarea class="result" placeholder="语音识别内容" :value="result"></textarea><view class="recogniz"><view style="color: #0000CC;"><text>{{title}}</text></view><view class="partial"><text>{{partialResult}}</text></view><view class="volume" :style="{width:valueWidth}"></view></view><button type="default" @touchstart="startRecognize" @touchend="endRecognize">按下开始&松开结束</button></view>
</template>
<script>export default {data() {return {title: '未开始',text: '',partialResult: '...',result: '',valueWidth: '0px'}},onLoad() {// #ifdef APP-PLUS// 监听语音识别事件plus.speech.addEventListener('start', this.ontStart, false);plus.speech.addEventListener('volumeChange', this.onVolumeChange, false);plus.speech.addEventListener('recognizing', this.onRecognizing, false);plus.speech.addEventListener('recognition', this.onRecognition, false);plus.speech.addEventListener('end', this.onEnd, false);// #endif},methods: {ontStart() {this.title = '...倾听中...';this.text = '';console.log('Event: start');},onVolumeChange(e) {this.valueWidth = 100*e.volume+'px';console.log('Event: volumeChange '+this.valueWidth);},onRecognizing(e) {this.partialResult = e.partialResult;console.log('Event: recognizing');},onRecognition(e) {this.text += e.result;this.text?(this.text+='\n'):this.text='';this.result = this.text;this.partialResult = e.result;console.log('Event: recognition');},onEnd() {if(!this.text||this.text==''){plus.nativeUI.toast('没有识别到内容');}this.result = this.text;this.title = '未开始';this.valueWidth = '0px';this.partialResult = '...';},startRecognize() {console.log('startRecognize');// #ifdef APP-PLUSplus.speech.startRecognize({engine: 'baidu',lang: 'zh-cn','userInterface': false,'continue': true});// #endif},endRecognize() {console.log('endRecognize');// #ifdef APP-PLUSplus.speech.stopRecognize();// #endif}}}
</script>
<style>.content {display: flex;flex-direction: column;align-items: center;justify-content: center;}.recogniz {width: 200px;height: 100px;padding: 12px;margin: 50px auto;background-color: rgba(0,0,0,0.5);border-radius: 16px;text-align: center;}.partial {width: 100%;height: 40px;margin-top: 16px;font-size: 12px;color: #FFFFFF;}.volume {width: 10px;height: 6px;border-style:solid;display:inline-block;box-sizing:border-box;border-width:1px;border-color:#CCCCCC;border-radius: 50%;background-color: #00CC00;}.result {color: #CCCCCC;border: #00CCCC 1px solid;margin: 25px auto;padding: 6px;width: 80%;height: 100px;}
</style>1.4 使用第三方插件
除了原生支持,也可以使用第三方插件实现语音识别:
安装百度语音识别插件:
npm i uni-baidu-voice-recognition在页面中使用:
import voiceRecog from 'uni-baidu-voice-recognition'
export default {
methods: {
startRecognize() {
voiceRecog.start({})
.then(res => {
console.log('语音识别结果:', res.result)
})
.catch(err => {
console.log('语音识别失败:', err)
})
},
stopRecognize() {
voiceRecog.stop({})
}
}
}
第二部分:百度图片识别集成
2.1 开通图片识别服务
在百度智能云控制台中,为你的应用开通以下服务(根据需求选择):
- 通用图像分析
- 物体识别
- OCR文字识别
- 人脸识别
2.2 图片识别通用实现方案
以下是一个通用的图片识别示例,支持拍照和相册选择:
<template><view class="container"><view class="button-container"><button class="button" @click="takePhoto">拍照</button><button class="button" @click="chooseImage">从相册选择</button></view><view class="image-container"><image v-if="imageUrl" :src="imageUrl" mode="aspectFit"></image></view><button class="identify-button" @click="identifyImage" :disabled="!imageUrl">识别图片</button><view class="result"><text v-for="(item, index) in results" :key="index">{{ item.name }}: {{ (item.score * 100).toFixed(2) }}%</text></view></view>
</template>
<script>export default {data() {return {imageUrl: '',base64Data: '',results: [],accessToken: '你的Access Token' // 需要先获取}},methods: {// 选择图片chooseImage() {uni.chooseImage({count: 1,sourceType: ['album'],success: res => {this.imageUrl = res.tempFilePaths[0];this.pathToBase64(res.tempFilePaths[0]);}});},// 拍照takePhoto() {uni.chooseImage({count: 1,sourceType: ['camera'],success: res => {this.imageUrl = res.tempFilePaths[0];this.pathToBase64(res.tempFilePaths[0]);}});},// 图片转Base64pathToBase64(filePath) {// 可使用 image-tools 插件uni.getFileSystemManager().readFile({filePath: filePath,encoding: 'base64',success: res => {// 去掉base64头部:cite[2]this.base64Data = res.data.replace(/^data:image\/\w+;base64,/, "");}});},// 调用百度AI识别图片identifyImage() {uni.showLoading({title: '识别中...'});// 以通用物体识别为例const url = `https://aip.baidubce.com/rest/2.0/image-classify/v2/advanced_general?access_token=${this.accessToken}`;uni.request({url: url,method: 'POST',data: {image: this.base64Data},header: {'Content-Type': 'application/x-www-form-urlencoded'},success: res => {uni.hideLoading();if (res.data.error_code) {uni.showToast({title: '识别失败',icon: 'none'});return;}this.results = res.data.result;},fail: err => {uni.hideLoading();uni.showToast({title: '请求失败',icon: 'none'});}});}},mounted() {// 应用启动时获取Access Tokenthis.getAccessToken();}}
</script>
2.3 获取Access Token
Access Token 需要通过 API Key 和 Secret Key 获取:
// 获取百度AI访问令牌
getAccessToken() {
// 注意:此方法应在服务器端实现,避免泄露API Key和Secret Key
const apiKey = '你的API Key';
const secretKey = '你的Secret Key';
const authUrl = `https://aip.baidubce.com/oauth/2.0/token?grant_type=client_credentials&client_id=${apiKey}&client_secret=${secretKey}`;
uni.request({
url: authUrl,
method: 'GET',
success: (res) => {
if (res.data.access_token) {
this.accessToken = res.data.access_token;
}
}
});
}
重要提示:在实际项目中,获取
Access Token的逻辑应该在服务器端实现,避免将API Key和Secret Key暴露在客户端代码中。
2.4 特定图片识别功能
✅身份证识别
// 身份证识别
idCardRecognition() {
uni.chooseImage({
count: 1,
success: (res) => {
const filePath = res.tempFilePaths[0];
// 转换图片为Base64
this.pathToBase64(filePath, (base64) => {
const url = `https://aip.baidubce.com/rest/2.0/ocr/v1/idcard?access_token=${this.accessToken}`;
uni.request({
url: url,
method: 'POST',
data: {
image: base64,
id_card_side: 'front' // front:正面 back:反面
},
header: {
'Content-Type': 'application/x-www-form-urlencoded'
},
success: (res) => {
console.log('身份证识别结果:', res.data);
// 处理识别结果
if (res.data.words_result) {
const result = res.data.words_result;
// 提取姓名、性别、民族、出生、地址、身份证号等信息
}
}
});
});
}
});
}✅人脸识别
// 人脸检测
faceDetection(imageBase64) {
const url = `https://aip.baidubce.com/rest/2.0/face/v3/detect?access_token=${this.accessToken}`;
uni.request({
url: url,
method: 'POST',
data: {
image: imageBase64,
image_type: 'BASE64',
face_field: 'age,beauty,expression,gender,glasses'
},
header: {
'Content-Type': 'application/json'
},
success: (res) => {
console.log('人脸检测结果:', res.data);
if (res.data.result) {
const faceResult = res.data.result;
// 处理人脸检测结果
}
}
});
}
第三部分:注意事项与优化建议
3.1 权限配置
在 manifest.json 中确保配置了必要的权限:
{
"app-plus": {
"distribute": {
"android": {
"permissions": [
"<uses-permission android:name=\"android.permission.RECORD_AUDIO\" />",
"<uses-permission android:name=\"android.permission.CAMERA\" />",
"<uses-permission android:name=\"android.permission.READ_EXTERNAL_STORAGE\" />",
"<uses-permission android:name=\"android.permission.WRITE_EXTERNAL_STORAGE\" />"
]
}
}
}
}
3.2 平台兼容性处理
不同平台可能有不同的限制,需要进行兼容处理:
// 检查平台
getPlatform() {
let platform = '';
// #ifdef APP-PLUS
platform = 'app';
// #endif
// #ifdef MP-WEIXIN
platform = 'wechat';
// #endif
// #ifdef H5
platform = 'h5';
// #endif
return platform;
}
3.3 性能优化建议
- 图片压缩:上传前对图片进行适当压缩,减少网络传输时间
- 语音分段:长语音可以考虑分段识别,提高准确率
- 缓存Token:Access Token有效期为30天,可缓存避免频繁获取
- 错误处理:完善的错误处理机制,提高用户体验
第四部分:完整项目结构建议
project/
├── src/
│   ├── components/
│   ├── pages/
│   │   ├── voice/
│   │   │   └── index.vue
│   │   ├── image/
│   │   │   └── index.vue
│   ├── utils/
│   │   ├── baidu-ai.js
│   │   └── common.js
│   ├── static/
│   └── manifest.json
结语
通过本文的介绍,相信你已经掌握了在 uniapp 中集成百度语音识别和图片识别的方法。百度AI开放平台提供了丰富的API,除了本文介绍的功能外,还有更多能力等待你的探索。
在实际项目中,记得遵循最佳实践,保护敏感信息,优化用户体验,让你的应用更加智能和强大。